I know many of my readers are craft addicts like me and I’ve seen a number of you post about struggling with how to organize all those stickers you’ve accumulated. I was as well till I watched a YouTube video (included at the end of this post) and it helped me get all my stickers organized in one place.
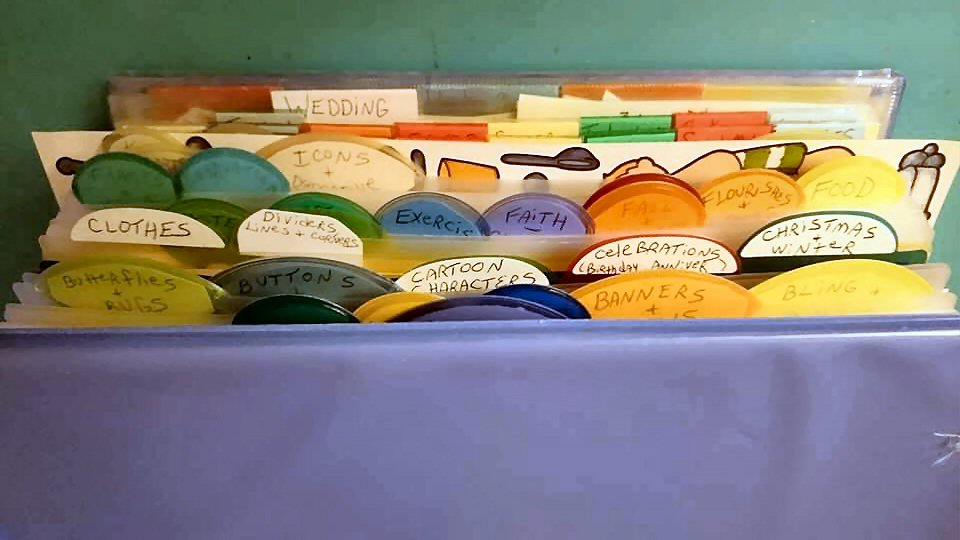
This is the finished product:
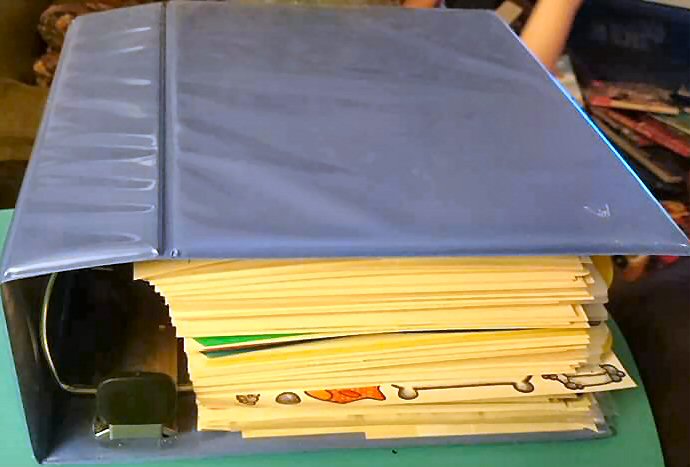
I had this big binder sitting around from when I first started couponing. (I used this before I got my zip-up binders). So after watching the video I knew right away that I would use this for that.
If you don’t already have one, you can look for something like this:
or if it will be on the go with you, something like this:
Once you have your binder, you’re going to want a stack of file folders.
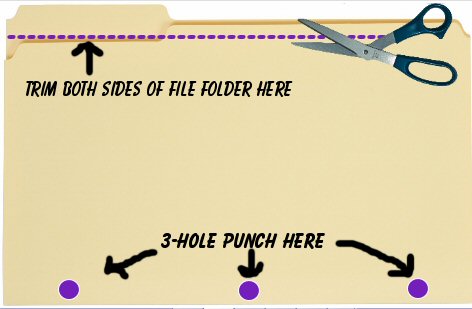
Trim both sides of the file folder along the lowest edge of the front (see the dotted line above) so that all your pages are the same. Then cut the two sides apart at the fold (I forgot to add that in the illustration above). Then 3-hole punch one long side. Do this for as many pages as you think you may need (and I needed more than I thought at first).
Put the file folder pages in your handy dandy sticker binder.
I took a piece of paper and wrote down the various categories I thought I would want to organize my stickers into. That will be different for everyone, I’m sure 🙂 Then use dividers you label with the categories you’ve come up with. Here is the side of mine with the dividers:
 I had these dividers onhand already, so I used them, but these are the dividers used in the video and they look great:
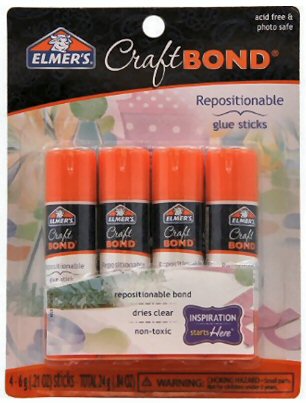
Next take your stickers sheets and use repositionable glue and apply the glue to the back of the sticker sheets and glue them to the file folder pages. LEAVE THE BACKING ON THE STICKER SHEETS! You are leaving the stickers on the backing sheet and adhering the backing sheet to the page. This is what I used:
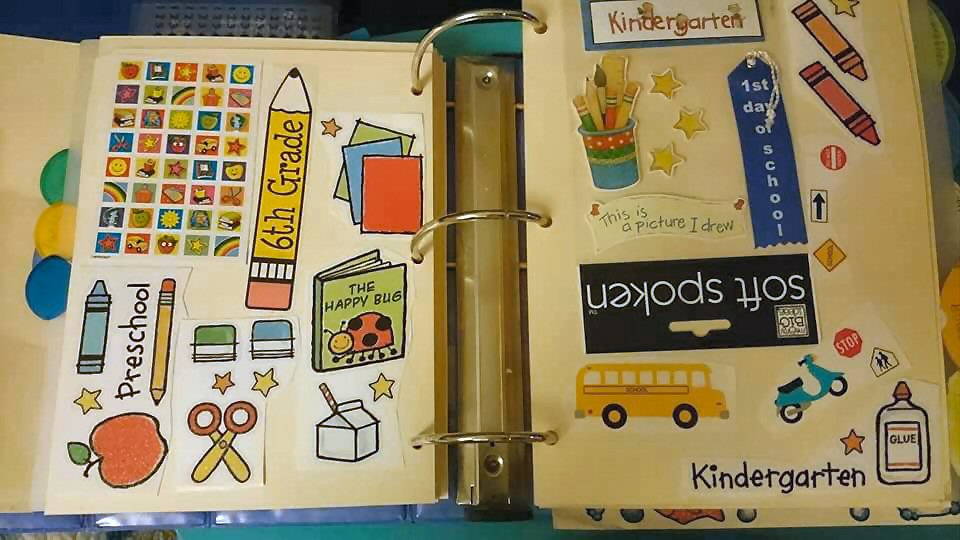
Here are a few example of my sticker pages:
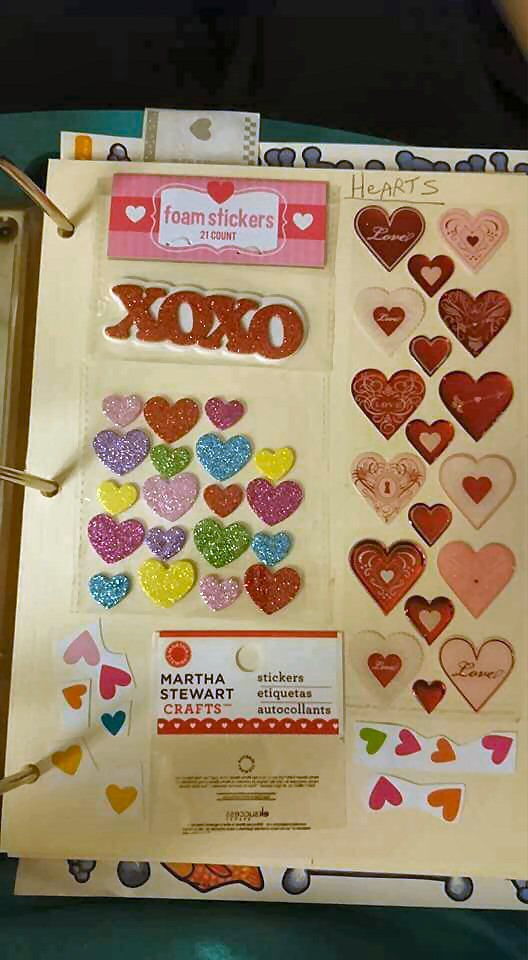
You can either adhere all the stickers cut apart by themselves to the pages or leave them in the plastic pouch they come in and apply the repositionable glue to the plastic pouch. You’ll just snip the top of the plastic so you can easily pull the sticker sheet out while leaving the plastic pouch on the page so you can put the sticker page back in as you use the stickers. If you leave the stickers in the plastic pouch you can also have the information on the package to know what company made that sticker set so you can share it with friends or buy it again.
The reason I use repositionable glue (and that’s the only thing I do differently from the video) is that you can remove the packaging once you’ve used the stickers and be able to put a new sheet in its place as you buy and use the stickers. You will only need to buy the file folders once that way!
You can either keep one big binder for your stickers or use several different binders. One for holidays, one for planner stickers, etc. It’s totally up to you 🙂
Here is the video I found useful in putting my sticker binder together: